
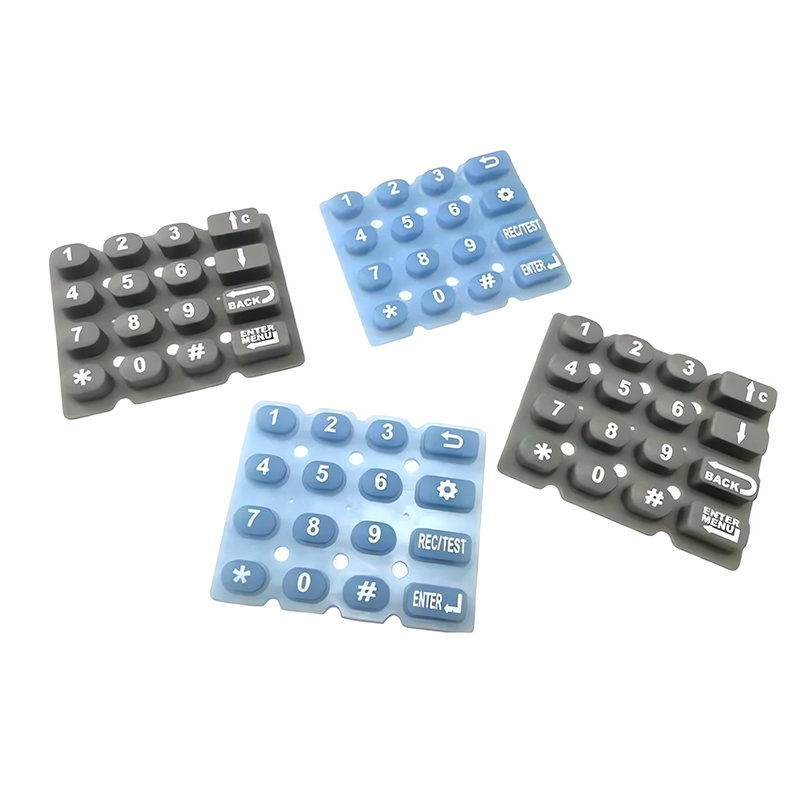
Custom Silicone Rubber Conductive Keypad For Pos Machine | Good Tactile Feedback


- group name
- Custom Silicone Rubber Meter Instrument Keypad
- Min Order
- 1000 piece
- brand name
- FromRubber Silicone & Plastic OEM Manufacturer
- Nearest port for product export
- FOB shenzhen
- Delivery clauses under the trade mode
- FOB, CFR, CIF, EXW, FCA, DDP, Express Delivery
- Acceptable payment methods
- T/T, D/P D/A, Credit Card, PayPal, Westem Union, Cash
- update time
- Sat, 24 Oct 2026 23:53:58 GMT
Paramtents
Material High-tear solid silicone
Hardness 30–80 Shore A, ±2.5°
Stroke 0.3–2.0 mm, set at DFM
Key life 0.5–5 million cycles
Contact Carbon, nickel or gold pill
Temperature −40 to +220 °C
Printing Silk screen or laser etched
Design input STEP / IGS 3D file
MOQ 1,000 pcs (100 trial run)
Application POS terminal keypad
Packging & Delivery
-
Min Order1000 piece
Briefing
Detailed
Silicone Keypads Built for POS Terminals
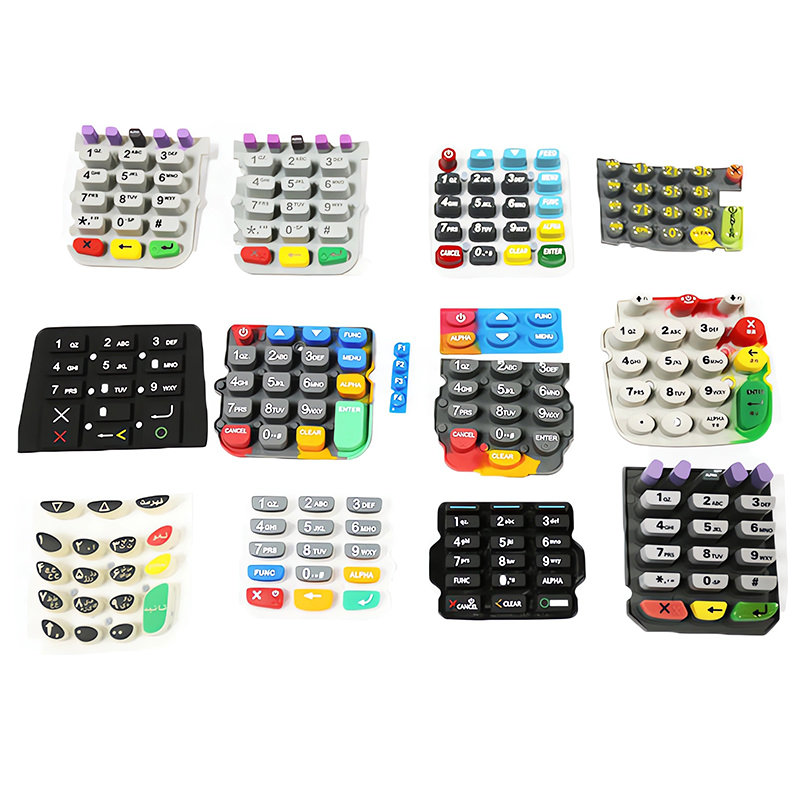
A conductive silicone keypad is a single molded elastomer part. Keytops, the collapsible webbing and the conductive contacts are formed in one piece, so a key press bridges the PCB pads directly. There is no separate switch sitting under the key.
We build these for payment terminals and industrial keypads. That means a key that takes tens of thousands of presses a day, gets wiped down with cleaning agents, and still has to register the right digit the first time. The requirement is not only that the key works. It is that the key keeps working after two years on a shop counter.
Specifications
Figures below are the standard capability range for custom silicone keypads. Send us the terminal model and we confirm which of them apply to your part before any tooling starts.
| Parameter | Value | Note |
|---|---|---|
| Material | High-tear solid silicone (HCR) | Food-grade platinum-cure available |
| Hardness | 30–80 Shore A, ±2.5° | Durometer drives actuation force |
| Stroke | 0.3–2.0 mm | Set by webbing height and angle |
| Key life | 500,000–5,000,000 cycles | Depends on durometer and webbing design |
| Contact resistance rise | ≤ 20% after 1,000,000 presses | Our endurance test criterion |
| Operating temperature | −40 to +220 °C, short term 250 °C | Solid silicone grade |
| Dielectric strength | ≥ 20 kV/mm | Insulating body of the keypad |
| Conductive contact | Carbon pill, conductive ink, nickel pill, gold-plated pill | Selected by application |
| Printing | Silk screen, laser etched, PU coating, matte oil | Legends and surface finish |
| Coating film | 10–25 µm | Matte, PU or UV |
| Certification | IATF 16949:2016, ISO 9001:2015, ISO 14001:2015 | Plant management systems |
| Compliance | RoHS 2.0, REACH SVHC | Material declarations on request |
| Parting line flash | ≤ 0.05 mm | Industry norm is 0.15 mm |
| Minimum order | 1,000 pcs per batch | 100 pcs trial run supported |
Design Rules That Matter on a POS Keypad
Most keypad failures on payment terminals are not material failures. They are geometry decisions made at the drawing stage. These are the six we check before releasing a mold.
Stroke at the long end
POS keypads are usually specified toward the longer end of the stroke range so an operator does not hit a neighboring key by mistake. The exact stroke is set at DFM, based on your housing and key count. Long stroke needs a guide rib, otherwise the key tips sideways.
Guide rib and housing gap
With a long stroke, add a guide rib and hold the keytop-to-housing gap at 0.2 mm or less. Above that, the key rocks and the legend wears on one side first.
Contact float gap
Leave 0.10–0.15 mm between the conductive pill and the PCB pad in the rest position. Zero gap means the contact is pre-loaded and the terminal reads a permanent key press.
Side clearance
Keep 0.20–0.30 mm per side between keypad edge and housing wall. Below 0.15 mm the keypad binds once the housing warms up or expands.
Air vent channels
Each sealed key chamber needs a vent channel to its neighbor. Without it, trapped air cushions the press, force climbs, and the key releases slowly.
Root fillet
Put R0.2–0.5 mm at the junction of webbing with keytop and baseboard. A sharp corner concentrates stress and is where the webbing tears first.
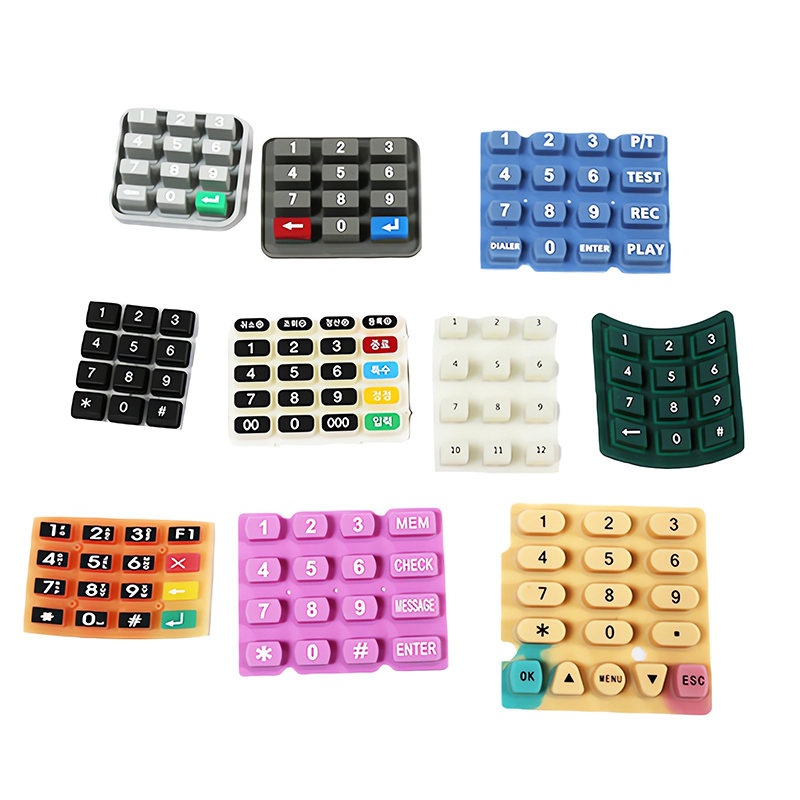
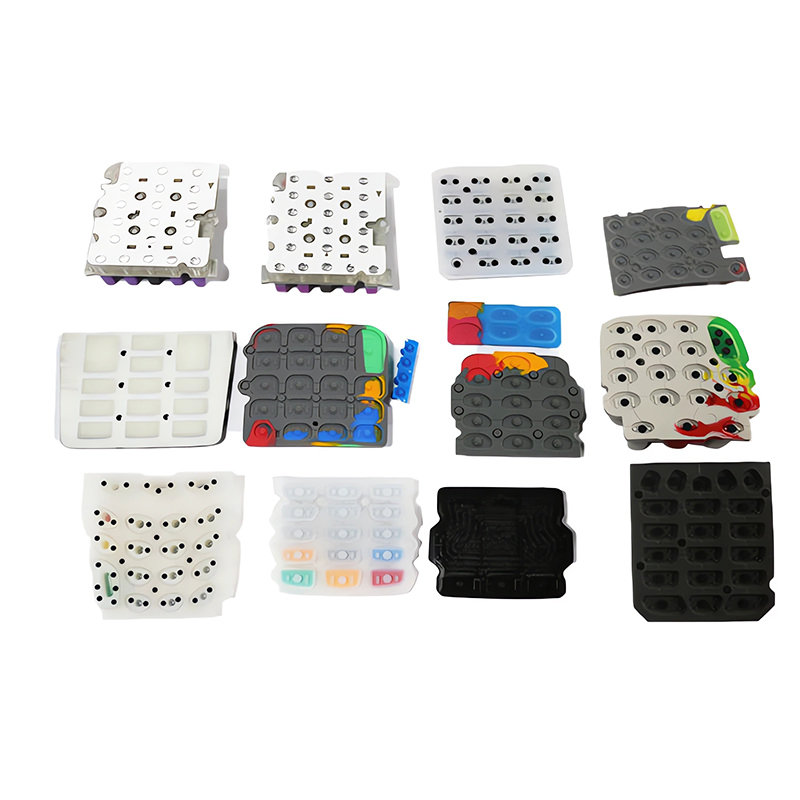
Choosing the Conductive Contact
The contact material decides how a conductive silicone keypad behaves at end of life, not at the start. This is the selection rule we apply.
| Contact type | Use it for | Why |
|---|---|---|
| Carbon pill, standard | Consumer remotes, calculators, low-cycle keys | Lowest cost, adequate for light duty |
| Carbon pill, high-life grade | Industrial instruments, POS terminals | Holds contact resistance longer under daily high-cycle use |
| Nickel pill | Automotive-grade keys, medical devices | Oxidation resistant where the contact must not drift |
| Gold-plated pill | Automotive, medical, low-current circuits | Most stable resistance, highest cost |
| Conductive ink | Flat keypads, membrane-style actuators | Thin profile, printed rather than assembled |
Snap Ratio: What Makes the Press Feel Right
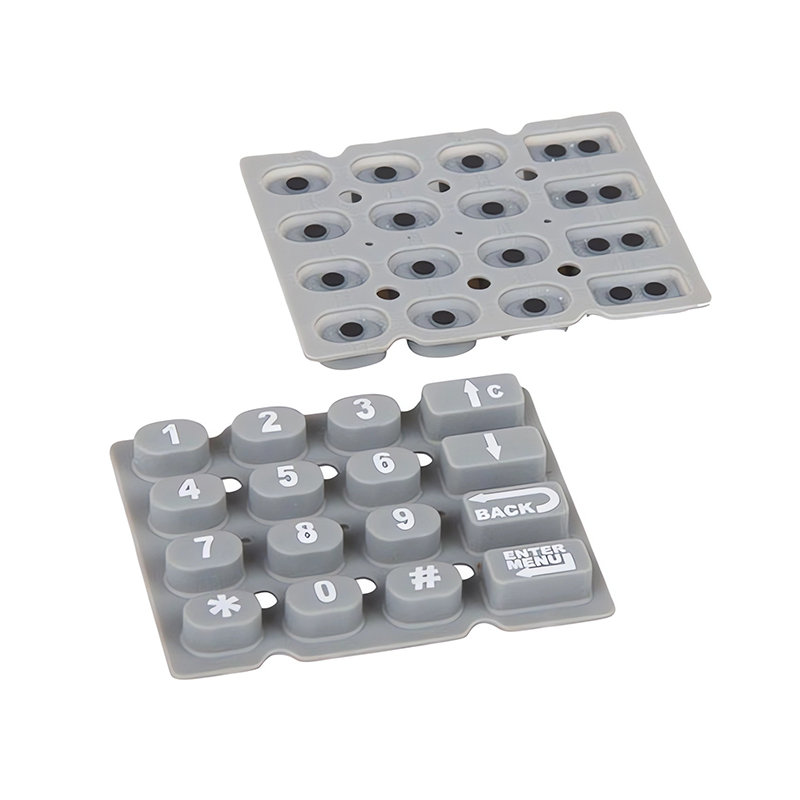
Snap ratio, also called click ratio, compares the force needed to collapse the webbing with the force the webbing pushes back as the key travels.
Click ratio = (F1 − F2) / F1 × 100%
F1 is the peak force at the moment the webbing buckles. F2 is the return force just after buckling. The gap between them is what your finger reads as a click.
- 40–55% — the band we normally set for consumer remotes and general keys. Soft, clear, not tiring over a shift.
- 50–65% — for strong mechanical feedback, such as game keys or a keypad operated with gloves.
- Below 40% — the press feels soft and vague, but switch life goes up.
- Above 65% — sharp and immediate, at the cost of durability and finger fatigue.
Two other variables affect that number. Each 5° Shore A added to the durometer raises peak force by roughly 15–25% at unchanged webbing thickness and angle. Webbing thickness normally sits between 0.3 and 0.6 mm.
How We Build and Check Them
DFM and mold
Drawing review within 3 hours. We flag stroke, rib and gap issues before cutting steel. Prototype mold 3–5 working days.
Molding
Compression molding at 165–180 °C, top and bottom plate within ±2 °C. A 1.5 mm wall cures in roughly 120–180 seconds.
Finishing
Post-cure at 200 °C for 2–4 hours to keep the webbing from softening later. Coating cured at 150 °C for 30 minutes, cross-hatch test to ISO class 0.
Inspection
Dimensions, press force, travel and appearance on every batch. Contact resistance checked before and after the endurance run.
Two numbers we hold tight because they cause field failures: parting line flash at 0.05 mm or less, and webbing wall thickness held concentric between the top and bottom plate. An off-center mold leaves one wall thin, and that is where the webbing tears first.
What You Can Customize
Hardness and feel
Any durometer from 30 to 80 Shore A, with the click ratio set during sampling. Validate in the real housing before production tooling.
Legend and surface
Silk screen, laser etching, PU coating or matte oil. Laser etching survives repeated wiping better than ink on high-traffic keys.
Backlight
Translucent silicone with a light-blocking coat and laser-cut legends, driven by LED or light guide film — see our backlit silicone keypad build.
Color and multi-shot
Pantone matching, multi-color one-piece molding, and epoxy doming for a raised wear surface.
Plastic plus silicone
Hard plastic keytops bonded to a silicone web where the design calls for a rigid cap with a soft return.
Existing parts
No drawing? Send a physical sample and the mating housing. We reverse-engineer the geometry and match the fit.
Lead Time and What to Send
| Stage | Time |
|---|---|
| Formal quote after we receive drawings or a sample | Within 3 hours |
| Prototype mold and first shots | 3–5 working days |
| Production mold | 10–12 working days |
| Mass production after order confirmation | 7–10 working days |
To quote accurately we need five things. Missing one of them usually means a second round of questions and a lost day. If you want a physical sample before committing to tooling, our quick proofing service covers that step separately.
- STEP or IGS 3D file (zip it with the upload form), 2D drawing, or a physical sample with the mating housing
- Durometer and silicone grade you want, or the feel you are targeting
- Pantone color for the keytops and for the legends
- Surface treatment: matte, PU, UV, or laser etched
- Order quantity per batch and expected annual volume
FAQ
What is a conductive silicone keypad?
One molded silicone part where each key has a conductive pill or printed pad underneath. Pressing the key pushes that contact onto the PCB, closing the circuit. It replaces a mechanical switch with the elastomer itself.
How does it differ from a membrane switch or a metal dome keypad?
A membrane switch is a flat printed circuit sandwich with almost no travel and little feel. A metal dome gives a sharp click but adds a part and an assembly step. Silicone gives real travel, sealing and legends in one part. If your design needs zero travel or a completely flat sealed front panel, a membrane switch is the better answer and we will say so.
Which durometer should I specify?
Start from the force you want on the finger, not from the durometer. Tell us the target force and the stroke, and we work back to durometer and webbing thickness. As a rule, each 5° Shore A raises peak force by 15–25%.
Can you match a keypad we already buy?
Yes. Send the old keypad and the housing. We measure the geometry, match the durometer and legend, and produce a sample for fit test before quoting production tooling.
When is a silicone keypad the wrong choice?
Three cases: when the front panel must be completely flat and sealed with no key travel, when the key count is under three and a single tact switch is cheaper, or when the working temperature sits above 220 °C continuously. In those cases we tell you before tooling starts.
Send the Terminal Model. We Will Tell You What the Keypad Needs.
- Send STEP or IGS files — zip them for the upload form; no drawing? post a physical sample and we reverse-engineer it
- Formal quotation in 3 hours, with material, tooling and unit cost itemised
- Prototype mold in 3–5 working days so you can test the feel in the real housing
- NDA signed before you share any drawing